How to Use an External Microphone for Phone IRL Streaming
Connect and verify an external phone microphone for Twitch or Kick IRL streaming, then prevent wrong-input, clipping, and route-change failures.
By VISP Team ·
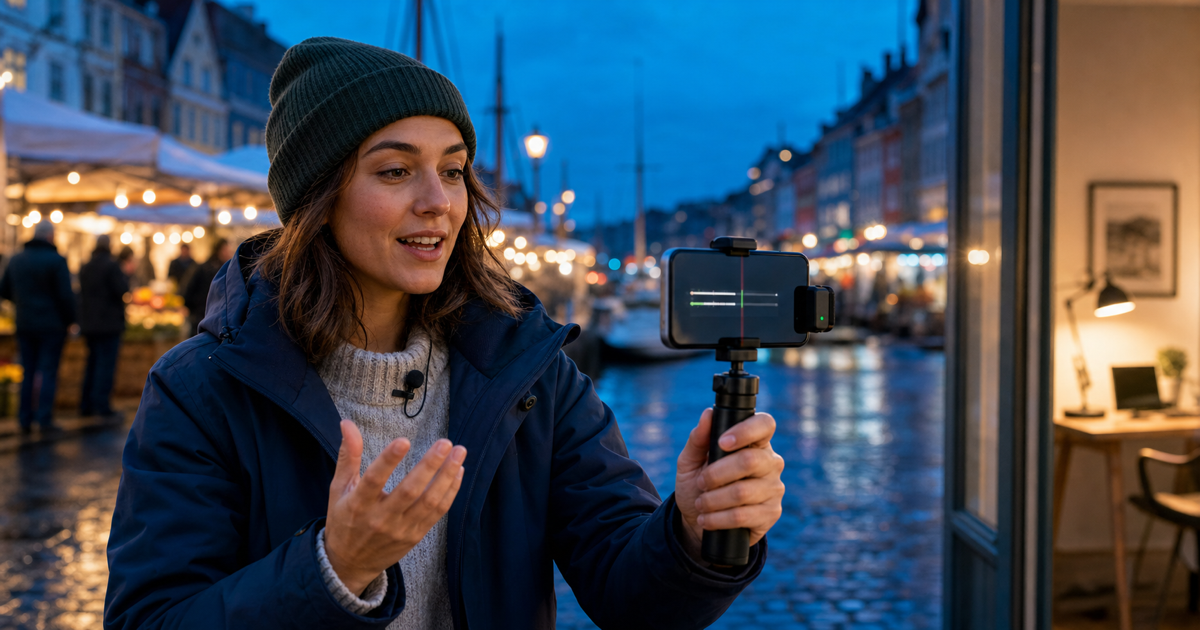
An external microphone can make an IRL stream easier to understand, but merely plugging one into a phone does not prove that the streaming app is using it. The phone may keep its built-in microphone, a wireless receiver may change the playback route, and a loud transmitter can clip before OBS ever sees the signal.
The reliable workflow is short: connect the microphone before capture, select the named input in VISP, prove it with the phone meter, and judge a real recording or platform test. This guide applies whether the finished show goes through a home OBS studio or VISP Direct to Twitch or Kick.
'/%3e%3ccircle%20cx='190'%20cy='140'%20r='280'%20fill='%230ea5e9'%20opacity='.06'/%3e%3ccircle%20cx='1430'%20cy='760'%20r='300'%20fill='%23f59e0b'%20opacity='.05'/%3e%3cg%20transform='translate(120%20270)'%3e%3crect%20x='115'%20y='0'%20width='120'%20height='245'%20rx='60'%20fill='%2314263a'%20stroke='%23f3c27a'%20stroke-width='8'/%3e%3cpath%20d='M145%2042h60M145%2078h60M145%20114h60'%20stroke='%23f3c27a'%20stroke-width='10'%20stroke-linecap='round'%20opacity='.75'/%3e%3cpath%20d='M85%20145v54a90%2090%200%200%200%20180%200v-54M175%20289v76M118%20365h114'%20fill='none'%20stroke='%23f3c27a'%20stroke-width='15'%20stroke-linecap='round'/%3e%3ccircle%20cx='175'%20cy='420'%20r='18'%20fill='%2358e4ef'%20filter='url(%23glow)'/%3e%3c/g%3e%3cpath%20d='M448%20690C540%20690%20510%20450%20605%20450'%20fill='none'%20stroke='url(%23signal)'%20stroke-width='12'%20stroke-linecap='round'%20marker-end='url(%23arrow)'%20filter='url(%23glow)'/%3e%3cg%20transform='translate(640%20190)'%3e%3crect%20width='300'%20height='520'%20rx='58'%20fill='%230b1522'%20stroke='%238da6bd'%20stroke-width='8'/%3e%3crect%20x='25'%20y='62'%20width='250'%20height='375'%20rx='32'%20fill='%23173752'/%3e%3cpath%20d='M58%20251h28l19-55%2031%20118%2030-170%2031%20137%2019-58h26'%20fill='none'%20stroke='%2358e4ef'%20stroke-width='10'%20stroke-linecap='round'%20stroke-linejoin='round'%20filter='url(%23glow)'/%3e%3ccircle%20cx='150'%20cy='475'%20r='17'%20fill='%23718ba3'/%3e%3crect%20x='106'%20y='25'%20width='88'%20height='10'%20rx='5'%20fill='%23718ba3'/%3e%3crect%20x='-30'%20y='340'%20width='72'%20height='112'%20rx='20'%20fill='%231b2e42'%20stroke='%23f3c27a'%20stroke-width='6'/%3e%3ccircle%20cx='6'%20cy='400'%20r='12'%20fill='%2358e4ef'/%3e%3c/g%3e%3cpath%20d='M980%20450h150'%20fill='none'%20stroke='url(%23signal)'%20stroke-width='12'%20stroke-linecap='round'%20marker-end='url(%23arrow)'%20filter='url(%23glow)'/%3e%3cg%20transform='translate(1160%20337)'%3e%3cpath%20d='M20%2072%20150%205l130%2067v150l-130%2067-130-67Z'%20fill='%23132e43'%20stroke='%2363d9ef'%20stroke-width='7'/%3e%3cpath%20d='m20%2072%20130%2068%20130-68M150%20140v149'%20fill='none'%20stroke='%2363d9ef'%20stroke-width='5'%20opacity='.65'/%3e%3ccircle%20cx='150'%20cy='140'%20r='23'%20fill='%2363d9ef'%20filter='url(%23glow)'/%3e%3c/g%3e%3cpath%20d='M1460%20450c70%200%2050-190%2050-245'%20fill='none'%20stroke='%2363d9ef'%20stroke-width='10'%20stroke-linecap='round'%20marker-end='url(%23arrow)'/%3e%3cpath%20d='M1460%20450c70%200%2050%20190%2050%20245'%20fill='none'%20stroke='%23f3c27a'%20stroke-width='10'%20stroke-linecap='round'%20marker-end='url(%23arrow)'/%3e%3cg%20transform='translate(1375%2055)'%3e%3crect%20width='175'%20height='125'%20rx='18'%20fill='%23101d2c'%20stroke='%238da6bd'%20stroke-width='6'/%3e%3crect%20x='18'%20y='17'%20width='139'%20height='83'%20rx='9'%20fill='%231a415b'/%3e%3cpath%20d='m69%2038%2045%2021-45%2021Z'%20fill='%2363d9ef'/%3e%3cpath%20d='M65%20146h45M87%20125v21'%20stroke='%238da6bd'%20stroke-width='8'%20stroke-linecap='round'/%3e%3c/g%3e%3cg%20transform='translate(1375%20700)'%3e%3crect%20width='175'%20height='125'%20rx='18'%20fill='%23101d2c'%20stroke='%238da6bd'%20stroke-width='6'/%3e%3cpath%20d='M45%2076h14l11-34%2018%2066%2018-92%2018%2077%209-25h12'%20fill='none'%20stroke='%23f3c27a'%20stroke-width='8'%20stroke-linecap='round'%20stroke-linejoin='round'/%3e%3c/g%3e%3c/svg%3e)
The short answer: verify the route, not the connector
Use these checkpoints in order:
- Stop the VISP contribution if it is running.
- Connect and power the microphone, receiver, or audio interface.
- Open Settings → Audio → Microphone in the VISP phone app.
- Choose the named input instead of assuming System default changed.
- Speak close to that microphone and watch the phone's audio indicator.
- Start a test and record it in OBS, or check the Direct output from a second device through headphones.
- Disconnect and reconnect the accessory once before the real stream, then repeat the selection check.
Do not leave the final proof until viewers arrive. A connector can fit, a receiver can show a green light, and the wrong microphone can still be active.
Pick the simplest microphone route that meets the job
No connector type is automatically best for every IRL stream. Choose around movement, weather, monitoring, and the sound you need to capture.
| Input route | Good fit | Check before going live |
|---|---|---|
| Phone's built-in microphone | A quick test or ambient scene where the phone stays near the speaker | Wind, handling noise, and changing distance |
| Wired lavalier or compact phone microphone | One nearby speaker with minimal equipment | Correct phone adapter, cable rub, strain relief, and whether the input appears by name |
| USB audio interface or plug-in wireless receiver | A microphone system with its own gain or a feed from a venue mixer | Power draw, adapter stability, input gain, mono/stereo layout, and what happens if the cable moves |
| Bluetooth headset microphone | Cable-free speech when the phone exposes the headset as an input | The actual selected input, return-audio route, battery, range, and reconnection behavior |
Follow the accessory maker's compatibility instructions for your exact phone. A USB-C, Lightning, TRRS, or Bluetooth label alone does not guarantee that a particular phone, adapter, and microphone combination exposes an input to third-party capture apps.
For outdoor speech, microphone placement and wind protection usually matter more than adding aggressive processing later. The iPhone wind and background-noise guide explains that separate problem in detail.
1. Connect the microphone before opening its capture session
Mount the microphone and secure every adapter before starting the VISP stream. If the accessory has a receiver or interface, power it on and wait until the phone recognizes it. Then open VISP settings.
VISP lists the audio inputs currently reported by iOS or Android. On iPhone,
the app reads AVAudioSession.availableInputs and asks the system to use the
selected port. Apple's
setPreferredInput documentation
is careful about the distinction: the method requests an input-route change,
and the current route is the way to determine whether it took effect.
Android has the same useful caution. VISP reads the available input devices and requests the selected device from its microphone capture source. Android's AudioRouting reference states that a preferred device is not guaranteed to be the device actually used for recording. That is why the meter and listening test are part of the setup, not optional troubleshooting.
Keep the stream stopped while changing the microphone. VISP deliberately disables the picker during an active contribution so the capture session does not change underneath a live Twitch or Kick show.
2. Select the named input and prove it is active
In Settings → Audio → Microphone, choose the accessory name when it is available. Use System default only when you intentionally want the phone to decide the route.
Then run a wrong-input test:
- Hold the external microphone at its real on-air position.
- Speak a normal sentence, then one louder sentence.
- Move the external microphone farther away while keeping the phone still.
- Briefly cover the phone's built-in microphone area without touching the external microphone.
- Watch how the VISP audio indicator changes.
The meter should follow the microphone you selected. If it behaves as though the phone itself is still listening, stop and reselect the input. If the named device has disappeared, reconnect it, reopen settings, and check again.
The meter proves that sound reaches the capture path, but it cannot identify distortion, radio interference, cable noise, or a hollow Bluetooth route. Listen to a recording before deciding the setup is good.
3. Set gain before using the OBS fader
Speak at the loudest realistic level for the event. Include cheering, turning your head, walking, and clothing movement. If the external receiver or audio interface has an input-gain control, lower it there when loud words crackle or flatten. If it has no gain control, change microphone distance or use a better matched input rather than expecting the OBS fader to repair clipped capture.
VISP's microphone picker selects the input; it is not a replacement for the accessory's gain control. The ordinary relay path forwards the phone contribution into OBS without normalizing or repairing its audio.
In OBS, confirm that exactly one phone source moves in the Audio Mixer and make a local recording. OBS's official Audio Mixer Guide recommends checking levels at the original device and again in OBS, then listening back before going live. Lowering an OBS fader makes a clipped signal quieter; it does not make the clipped waveform clean.
If you hear silence, echo, a fixed delay, or only one side of an interface, continue with the phone-camera audio troubleshooting guide.
4. Check return audio after the input changes
An external audio device can affect more than capture. Connecting or disconnecting a headset, receiver, or interface may also change where the phone plays chat text-to-speech, alerts, monitoring, or other app audio. Apple documents plug, unplug, and configuration events as audio-route changes. Android audio capture similarly exposes routing-change notifications through its AudioRouting API.
Test the complete field experience with headphones where appropriate:
- confirm the intended microphone still drives the VISP meter;
- play one chat text-to-speech message if you use that feature;
- check that return audio does not leak from a speaker into the microphone;
- lock the cable and receiver where normal walking cannot pull them loose;
- verify the accessory's battery and expected operating range;
- repeat the test after one disconnect and reconnect.
Do not assume a successful desk recording proves the roaming setup. Body position, a pocketed receiver, nearby radio traffic, wind, and cable movement only appear in a realistic walking test.
5. Verify the path you will actually broadcast
The final check differs slightly between an OBS-first and Direct workflow.
Phone to VISP to OBS to Twitch or Kick
Start the phone contribution, select the matching VISP Media Source in OBS, and confirm its Audio Mixer meter moves. Record at least 30 seconds with normal speech, a loud sentence, silence, movement, and a hand clap. Listen on headphones and ordinary speakers, then check the private or public platform output from a second device through headphones.
OBS owns the final mix in this path, so it is also where you balance the phone against music, alerts, a studio host, or other cameras. The external microphone is already encoded beside the phone video before that source reaches OBS.
Phone to VISP Direct to Twitch or Kick
OBS is not in the delivery path, so an OBS filter or fader cannot change what Direct viewers hear. Run a short platform test and listen from a second device through headphones. Confirm both speech and the wanted environmental sound before ending the test.
The VISP phone-app documentation describes both contribution paths. VISP can carry the selected microphone with the phone camera, but it cannot restore audio that clipped at the accessory or guarantee that a disconnected input will change routes cleanly during a live show.
Plan for a microphone disconnect
Treat an unplugged receiver or dead wireless transmitter as an on-air fault, not as a seamless input switch. When VISP refreshes settings and a saved input is no longer available, it clears that unavailable selection back toward the system default. The operating system still controls the actual route, so stop, reconnect, reselect, and verify whenever the production allows.
For an OBS production, keep a local fallback scene ready while the field operator fixes audio. For Direct, the platform feed has no home-OBS layer to hide the repair, so a tested built-in-microphone fallback matters even more.
Before leaving, rehearse this recovery once:
- stop the contribution;
- disconnect the external microphone;
- select and test System default;
- reconnect the accessory;
- select it by name again;
- make one more recording or platform check.
External-microphone checklist for an IRL stream
Before every Twitch or Kick broadcast:
- charge the microphone, transmitter, receiver, and phone;
- secure the windscreen, cable, adapter, and strain relief;
- connect the accessory before starting capture;
- select the named microphone in VISP while stopped;
- prove it with the phone meter and a wrong-input test;
- test normal and loud speech without clipping;
- confirm chat TTS or other return audio still goes where intended;
- record and listen through the real OBS or Direct path;
- carry a built-in-microphone or spare-accessory recovery plan;
- repeat a short check at the real location.
An external microphone is useful only when the phone is actually capturing it. Start with the VISP getting-started guide, connect one microphone, and try VISP with a short private test before building the rest of the production. If the route survives movement, a loud sentence, and one reconnect, it is ready for a real IRL rehearsal.
Bring the field into your OBS studio
Try VISP free during beta. You never have to paste a stream key anywhere.
Try VISP free